This training will walk you through how to set up the LDAP sync with the CMS. You should be familiar with your LDAP settings in order to do this.
Sign in to the CMS and on the left, you will see the LDAP Settings button. If you do not see this option, check your permissions. If the LDAP settings permission box is checked and you do not see the LDAP option make sure your site is set up with https (secure site). If not, contact support to help get the website's security certificate. This is a requirement for the LDAP settings.
If we currently have your LDAP syncing with the CMS, you can go to the LDAP settings and set this up so that you can manage the information. Click on the LDAP Settings button on the left and then click on the Help button. Read the information box and then click Convert Legacy LDAP Settings.
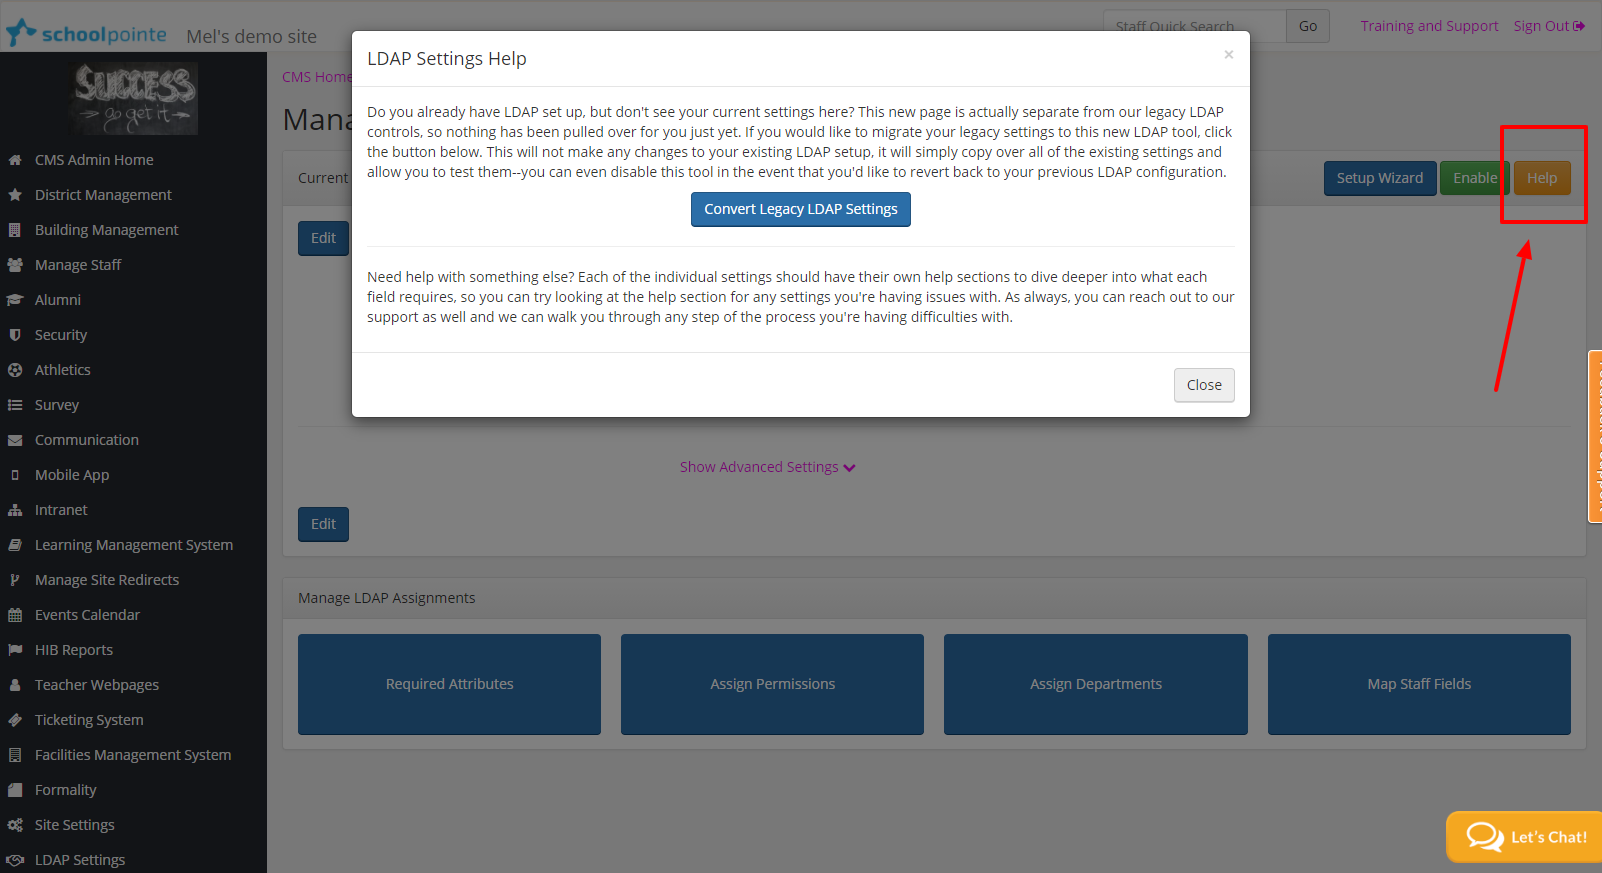
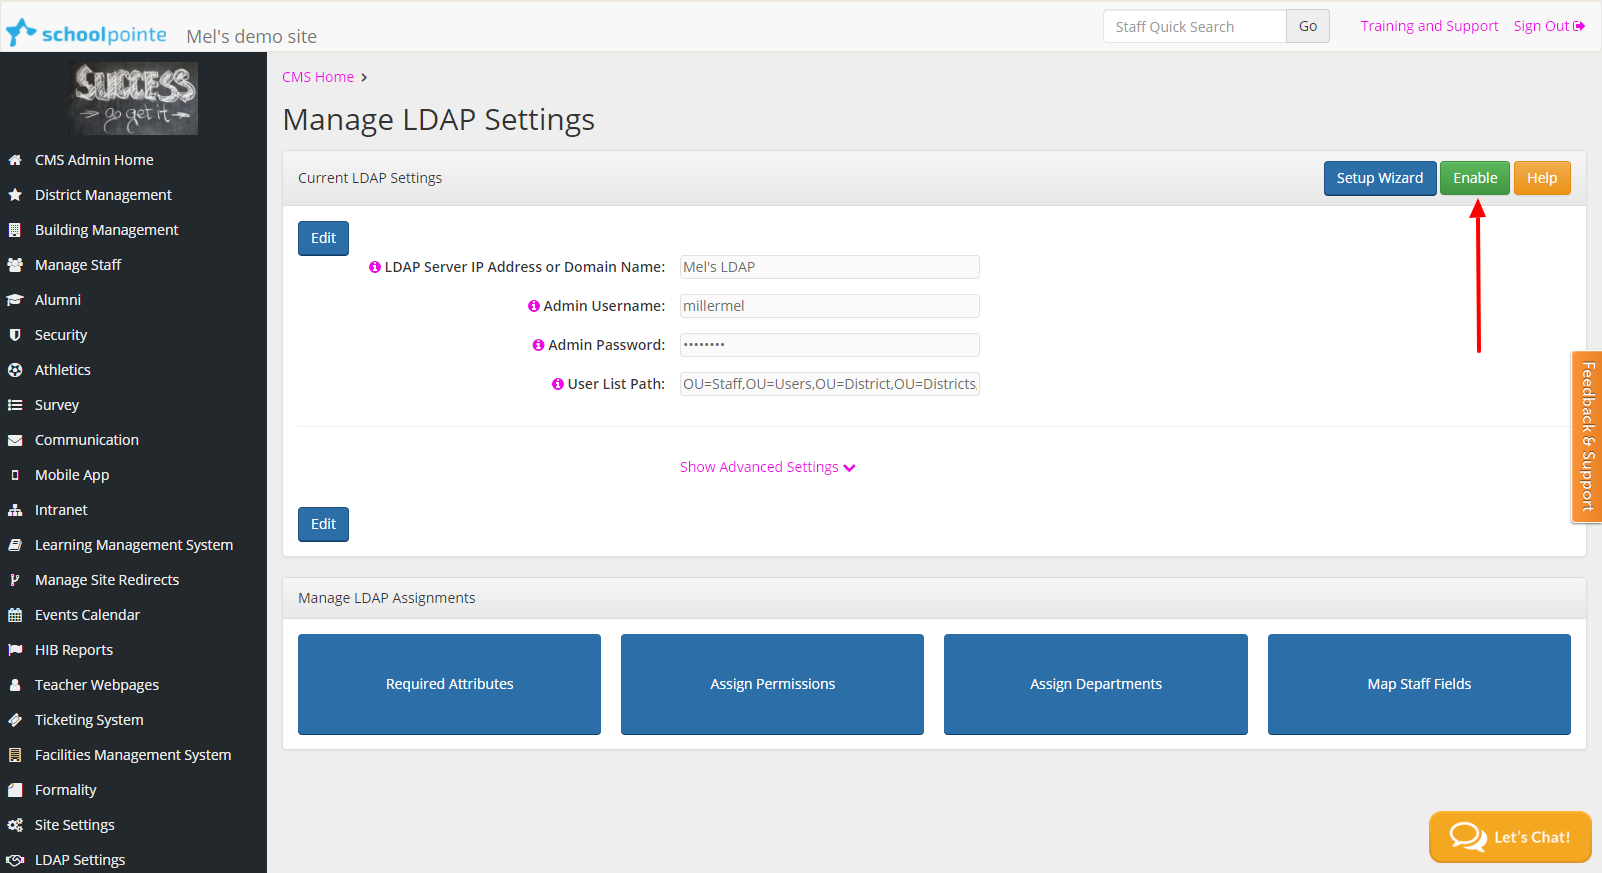
The Enable button if enabled supersedes the current LDAP settings. It does not remove anything, it just starts working instead of the current set up. If then disabled, the original LDAP settings would start to run again.
At any time can disable this LDAP setting.
The blue Setup Wizard will assist you in walking through the steps for setting up this module. Click this and it will walk you through the five steps of your LDAP set up.

If you would rather not use the Setup Wizard, you can go through and fill in the information on your own.
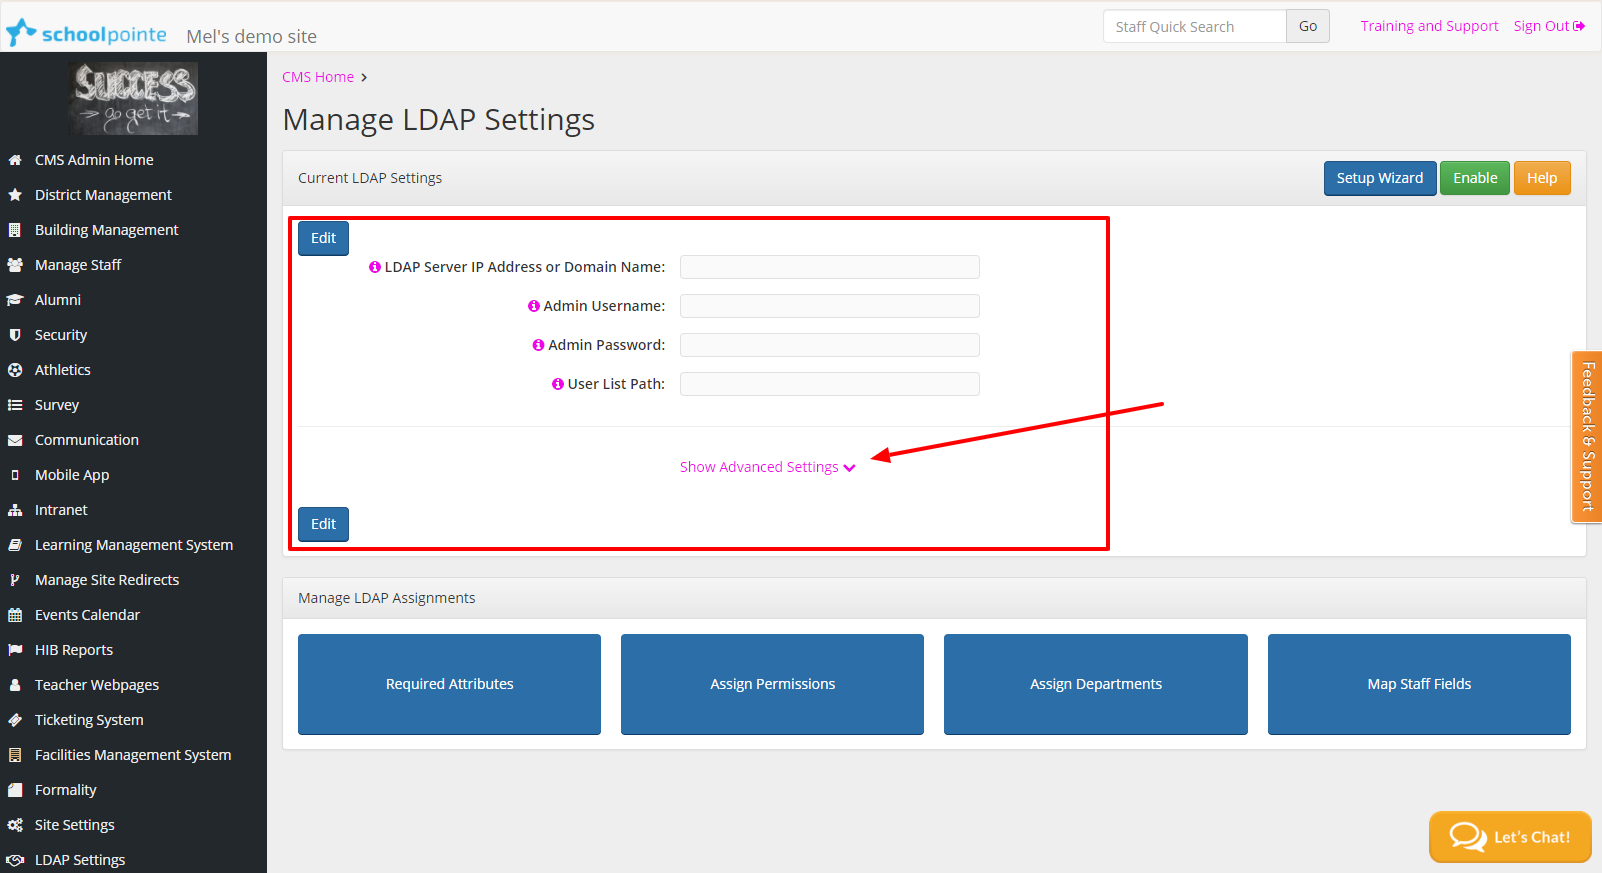
Click Edit, and start by filling in the Name, Username, Password, and List Path. An example of a List Path would be: OU=Staff,OU=Users,OU=District,OU=Districts.
Prior to clicking on the Show Advanced Settings, click save and enable the module. You should start pulling in all of the users within the List Path you provided. This is good, this means we are set up properly! Now you want to start adding your preferences. Disable the module. To set up the preferences, click edit and click on the Show Advanced Settings, or you can set up specific requirements to meet by using the Manage LDAP Assignments section.
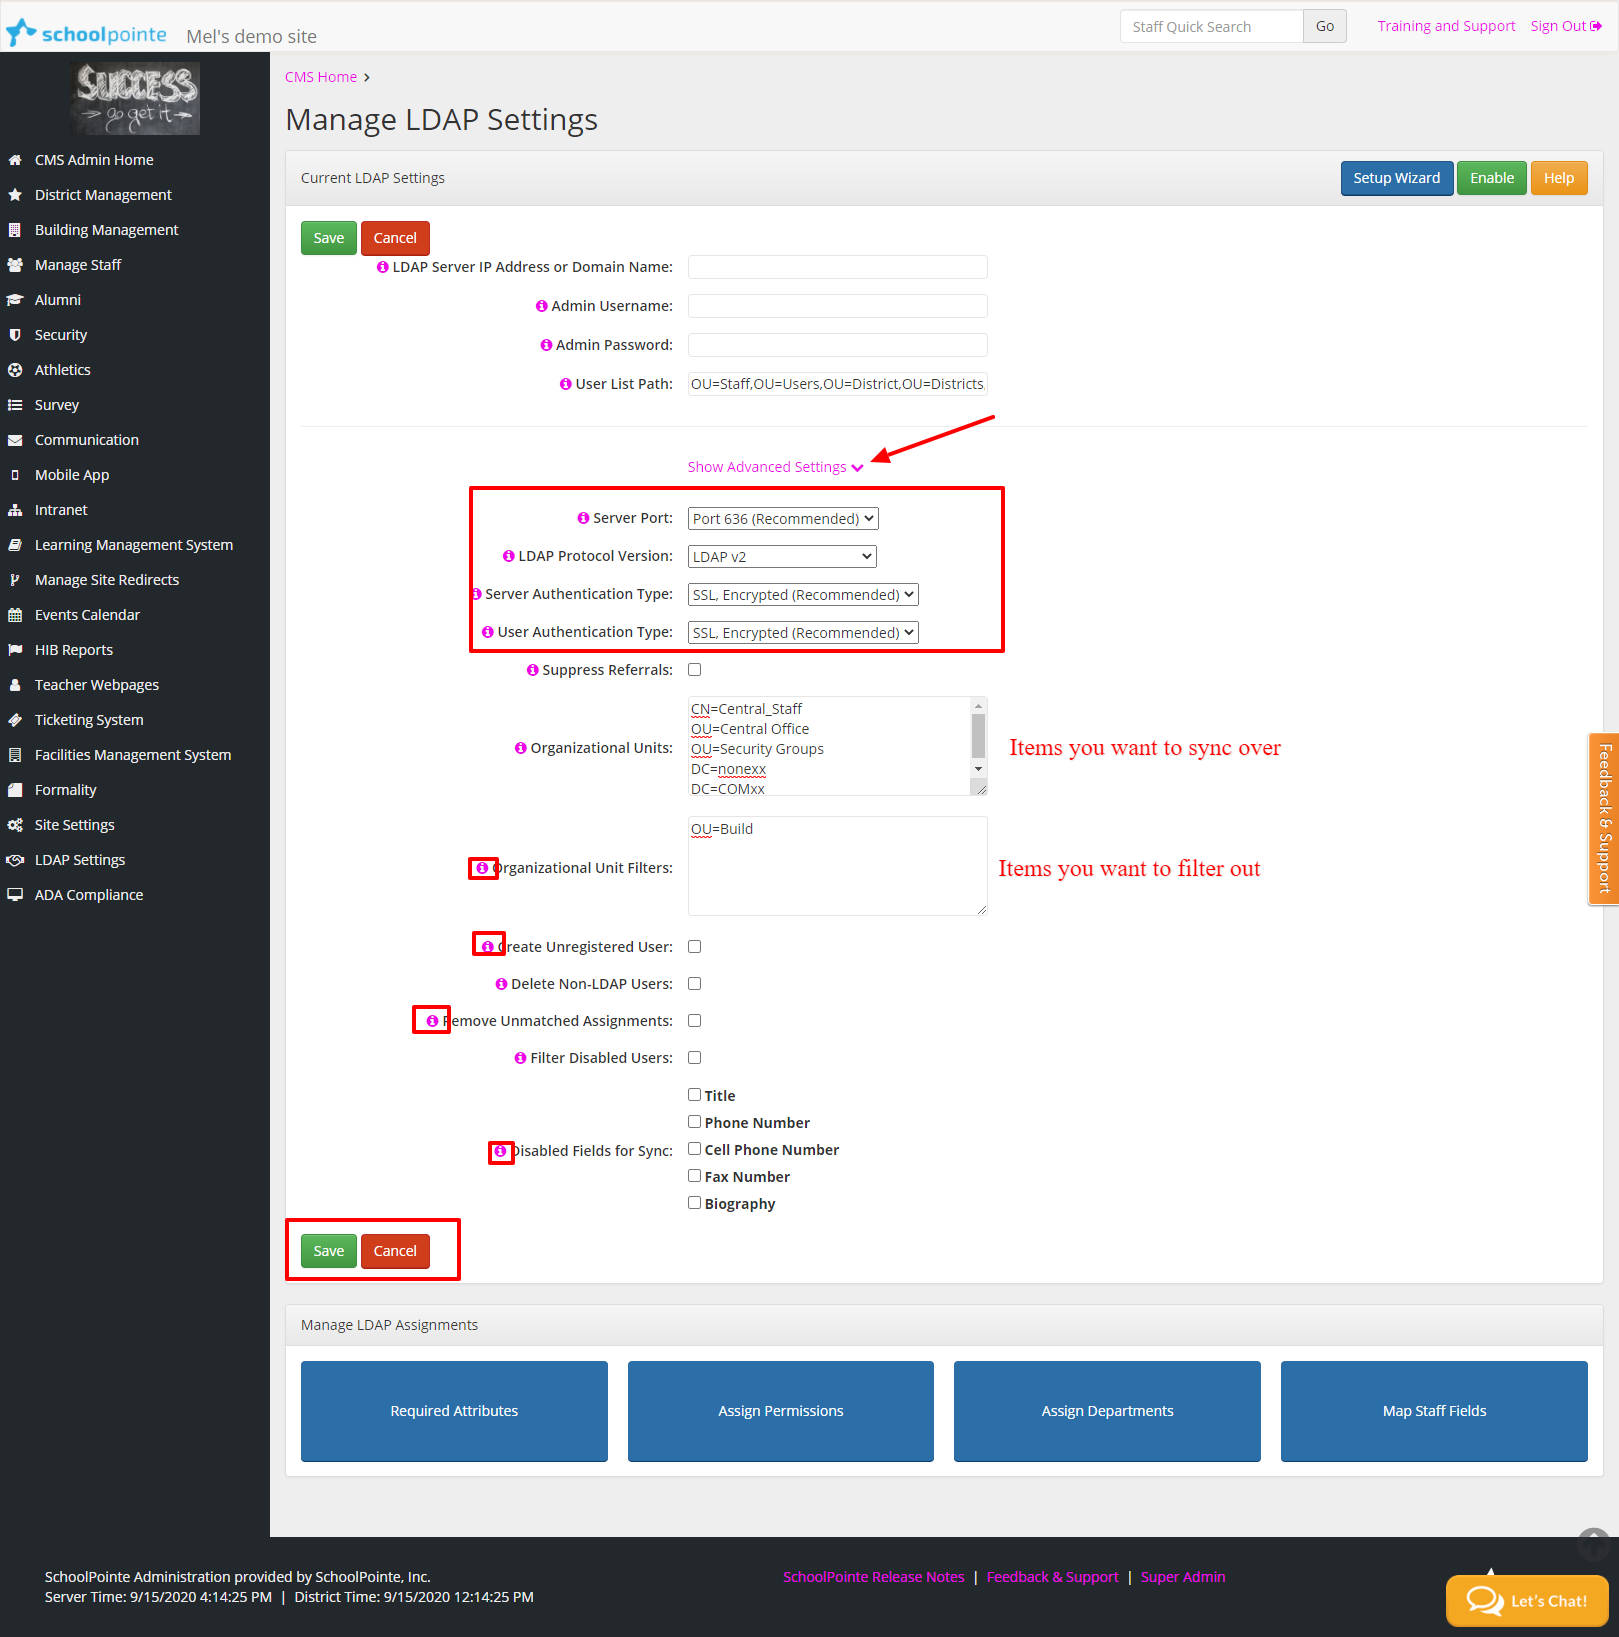
If using the Advanced Settings, we will already have the recommended Server Port, LDAP Protocol Version, Server & User Authentication Type. You can change these if necessary. The OU's that you want to keep and sync over you should list here. You can list more than one. To do this, simply click enter and add each OU on a separate line. The OU's you want to filter out and not sync over you should list under the OU's to Filter. You can list more than one. To do this, simply click enter and add each OU on a separate line.
Next to each checkbox, there is an information icon that goes over what each checkbox means. Hover over the "i" to get more information on these.
Click Save.
Manage LDAP Assignments: You have the ability to filter or set up additional options by using the manage LDAP assignments option. You can use this instead of setting up the organization units and filters under the Advanced Settings, or you can use these alongside that information. Click on each box to set this up.

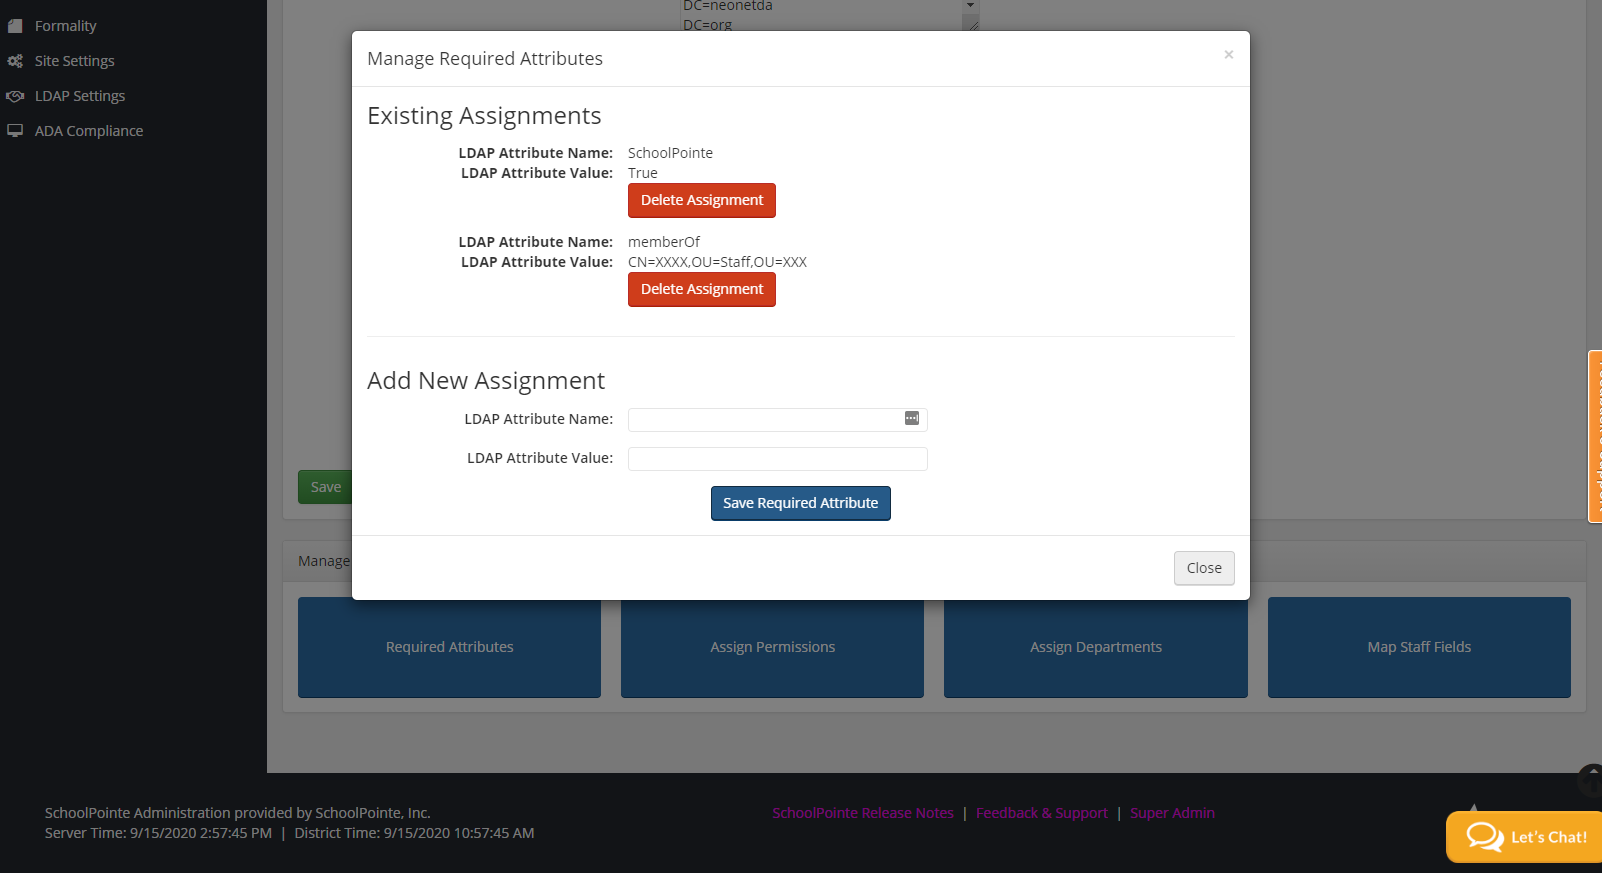
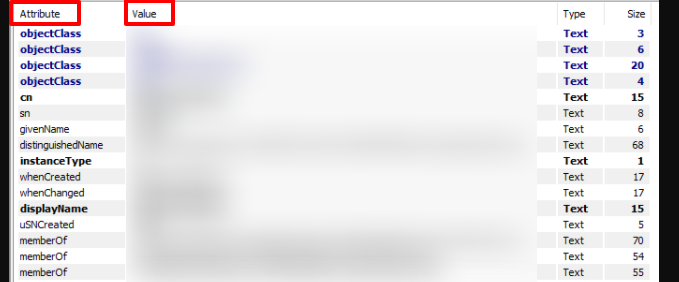
Required Attributes: This allows you to filter out/in specific attributes. Any attribute you currently have set up will show next to the Existing Assignments. To add a new assignment, enter the information, and click Save Required Attribute. If a user matches ANY of the assignments set up here, they will sync over to the CMS. Users also must be active.
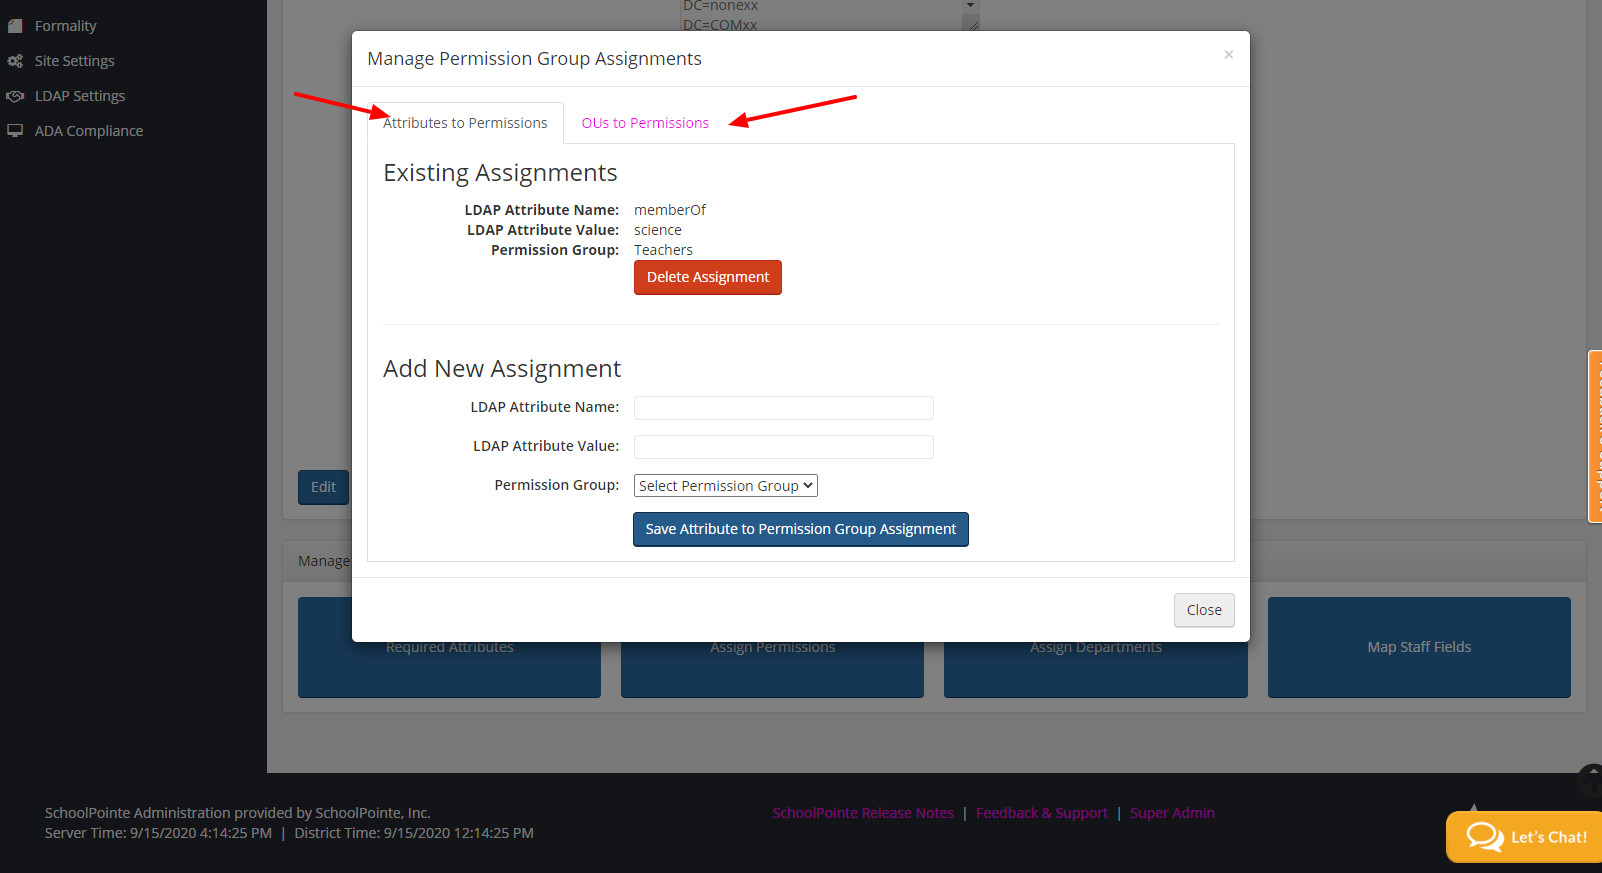
Assign Permissions: Allows you to provide permissions to sync over to the CMS into Security Groups. You can do this by either specific Attribute or by OU. You must create the permission group within the CMS in order to set this up properly (Permission Group Training).
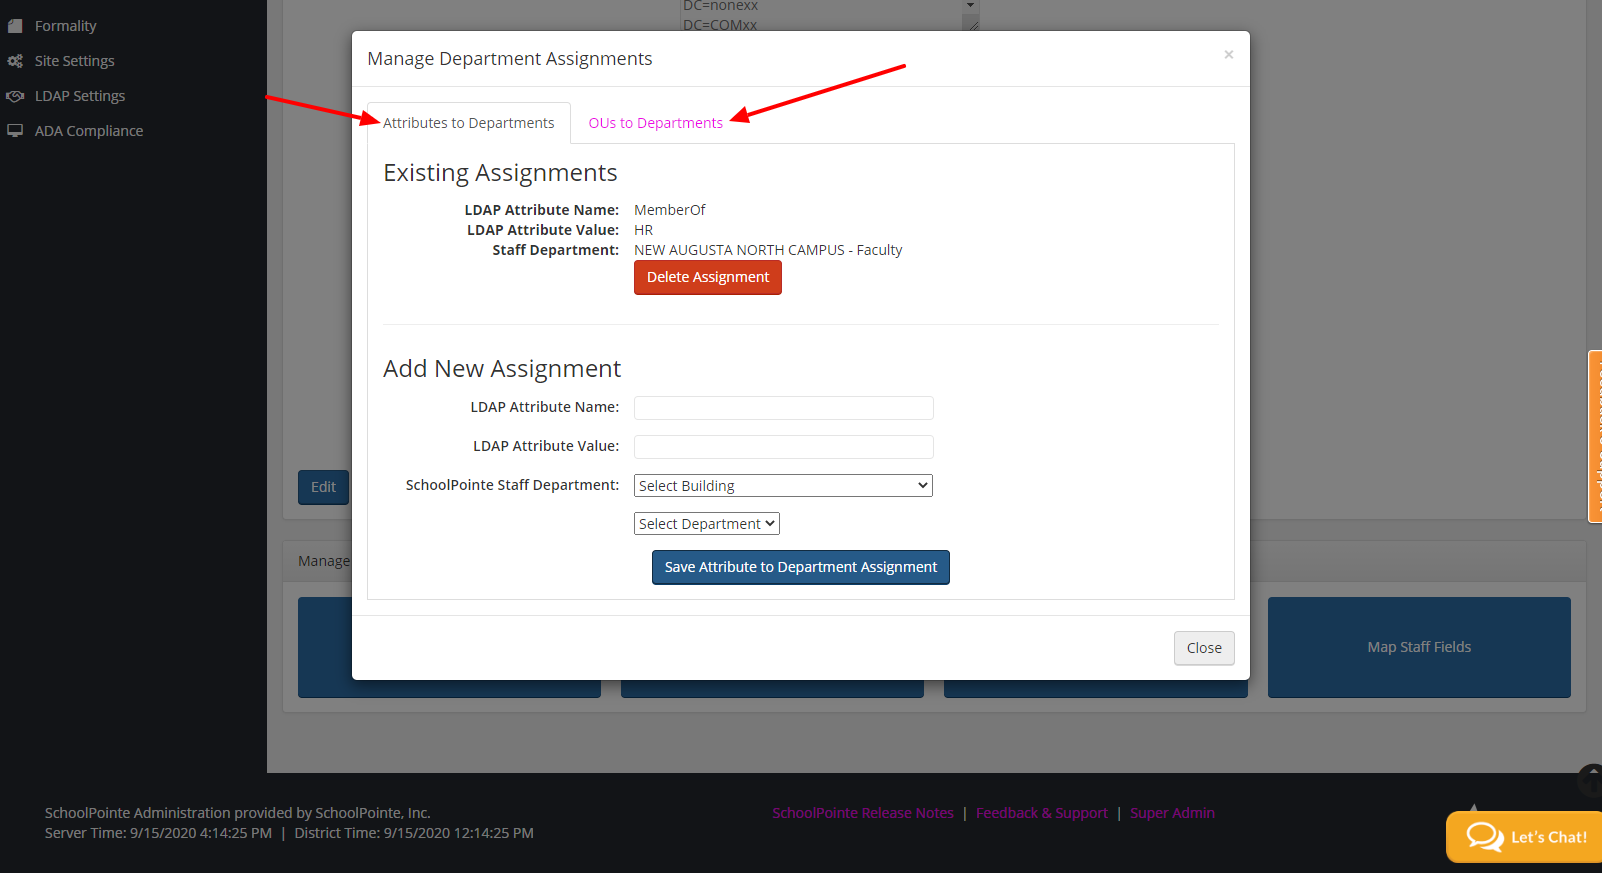
Assign Departments: Allows you to assign people to specific department based on Attribute or OU. The departments must be set up in order to set this up properly (Admin Departments).
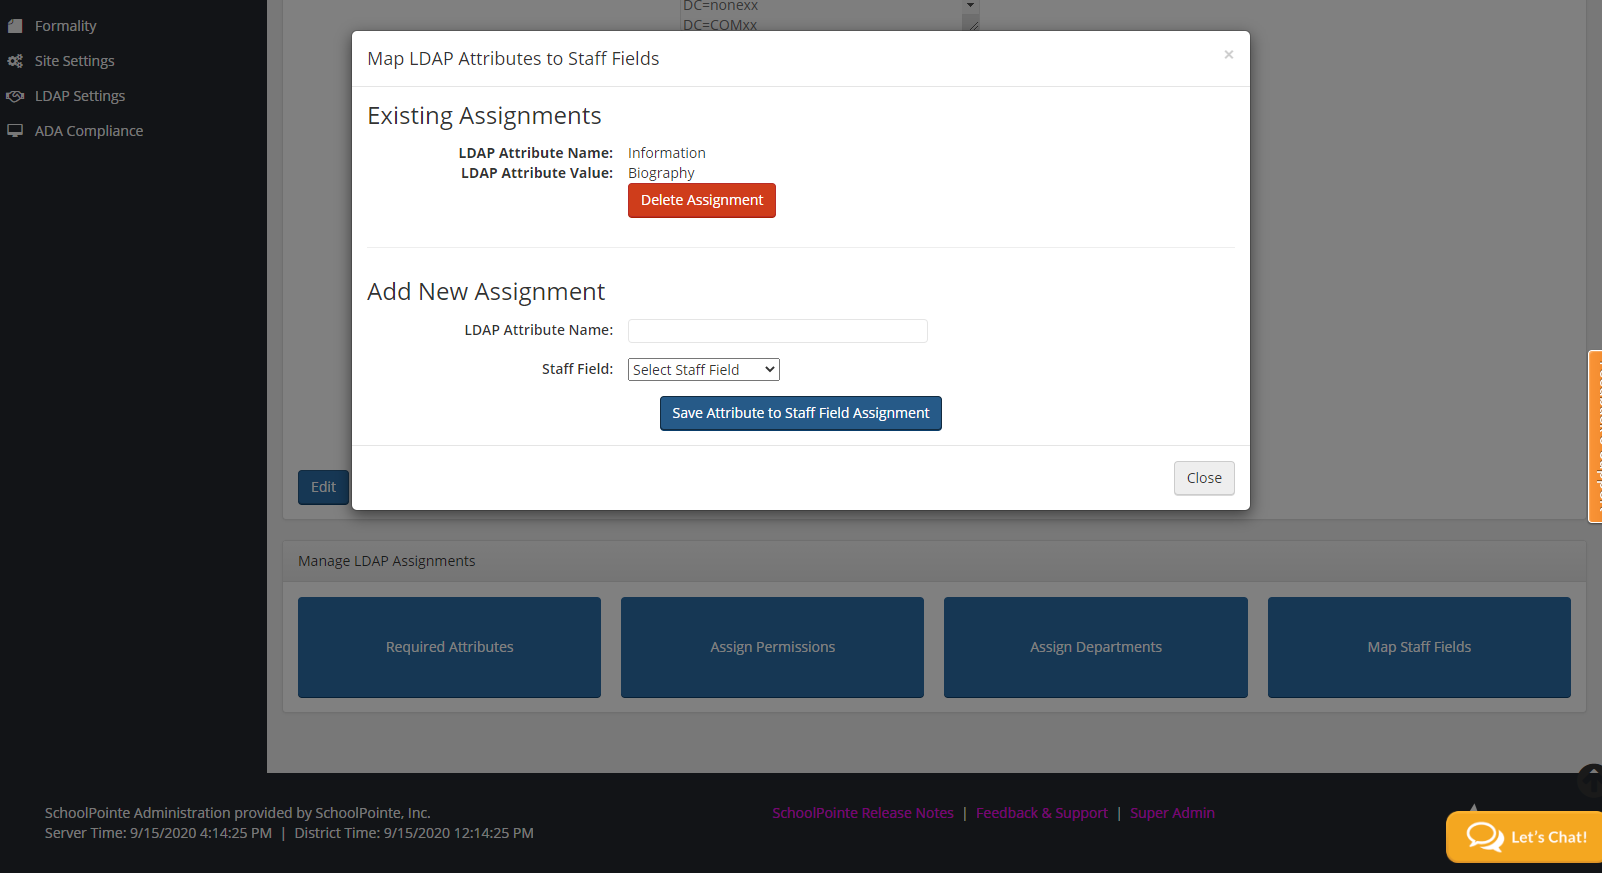
Map Staff Fields: You can map staff information from once field in your LDAP to a specific field in the CMS. For example, if your staff titles are under the information field in your LDAP instead of the title field, you can map it so that the CMS pulls the information field to the title filed properly.
Once you have everything set up, click the green Enable button! Again, you can turn this off at any time by clicking the same button, which now says disable. Please contact Support with any questions.
Comments
Please Sign in to leave a comment if you don't see the comment box below.