Creating Resources
- Resource Name: Name of your Resource
- Resource Type: Selection of type you created from the Types > Resource Types menu
- Resource Location: Location of your resource
- Period Blocked: Must the user book the entire period
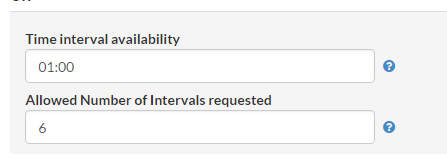
- Time Interval Availability: Set interval time blocks
- Allowed Number of Intervals Requested: Limit how many intervals they can select. Example: If you set your interval for 1 hour and select 2 allowed intervals, users can choose to have a resource for up to 2 hours.
- Available 24/7: You will not need to setup availability
- Needs Prep/Clean Up Time: When this resource is required, the user must enter a prep/clean up time
- Requires Approval: When checked a request must be approved
- Public: When checked users from the public can make a request for this resource.
- Assign Users to this resource: The users that will get notifications when a request has been submitted
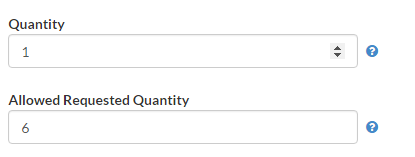
- Quantity: How many of a resource they can request. Ex: If you have 15 laptops that would be the most someone could request at one time.
- Allowed Requested Quantity: Allows you to say you have 15 laptops but only allow a user to select a total of 10 of the 15.
- Click Create

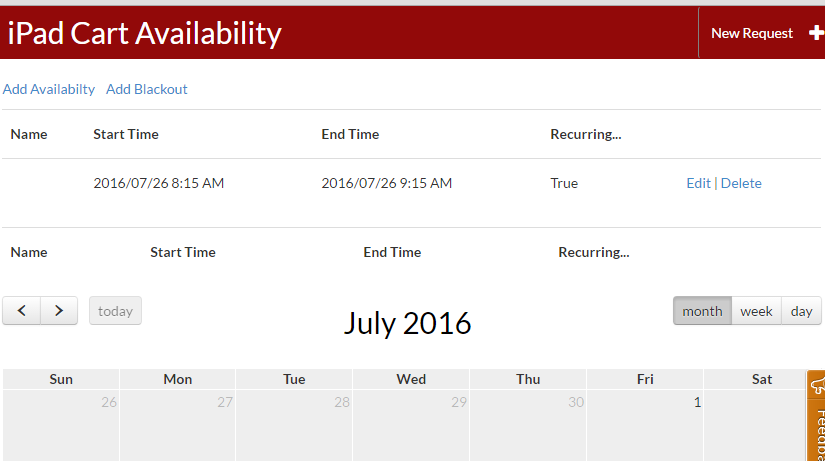
Availability of a Resource
After creating a resource, you must add availability so the resource can be requested. From the resources tab, select availability on the resource you want to add availability to.

From here, you have the option to add availability, add blackout, or see what has already been added. Blackout is where you can block off a section of the calendar in case you don’t want that resource to be used during that date and/or time (ex. testing). A calendar will also appear so you can see what availability looks like.
If you want to add availability, select add availability from the top.
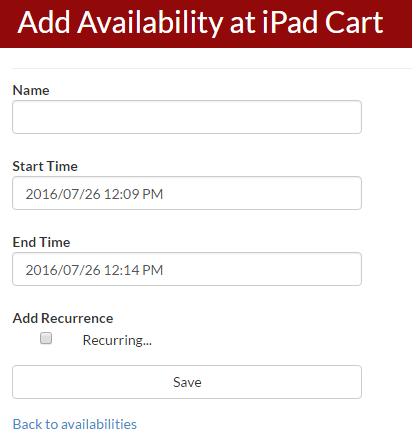
From here, you have the option to add a name, select the start and end times of availability, and add a recurrence. Depending on what settings you selected when you created the resource (period blocked, time interval, allowed number of intervals) will determine what dates and time you can select.
Resource Example
If you have six periods a day that last one hour each and want teachers to be able to book the computer lab, you would set your resource settings to the below:

After setting your resource settings, you will add availability to the resource. If school starts at 8:00 in the morning, we will select the start time at 8:00. If our last period ends at 2:00, and will select the end time of 2:00.

After entering your start and end times, we will select recurrence. We will want this to reoccur every week (Mon.-Fri.). You can select the reoccurrence to stop once school ends or never ends. In this example, we are setting it to stop at the end of the school year. Then save your availability.

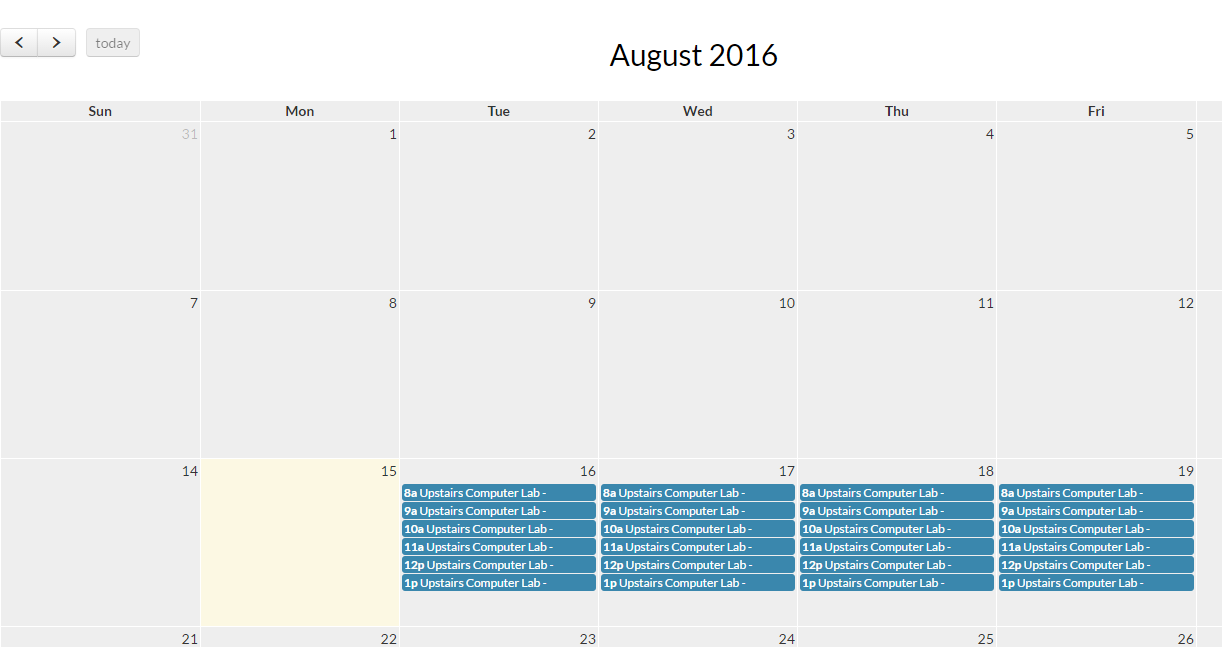
After saving our availability, you will see that we have six, one hour blocks of availability on the calendar for this computer lab.
Comments
Please Sign in to leave a comment if you don't see the comment box below.