Click the Contacts tab and select Upload CSV File. Click Choose File or Browse, navigate to your CSV and then click Open. Click Upload File. There is no specific format needed for the CSV, the option to map the fields will be given.

Once you have uploaded your CSV this takes you to the Import page. If you want to tie this contact import to an existing list, select the list here. Or, you can give this contact list a name.
**BEFORE CLICKING IMPORT DATA - Please read about the options***
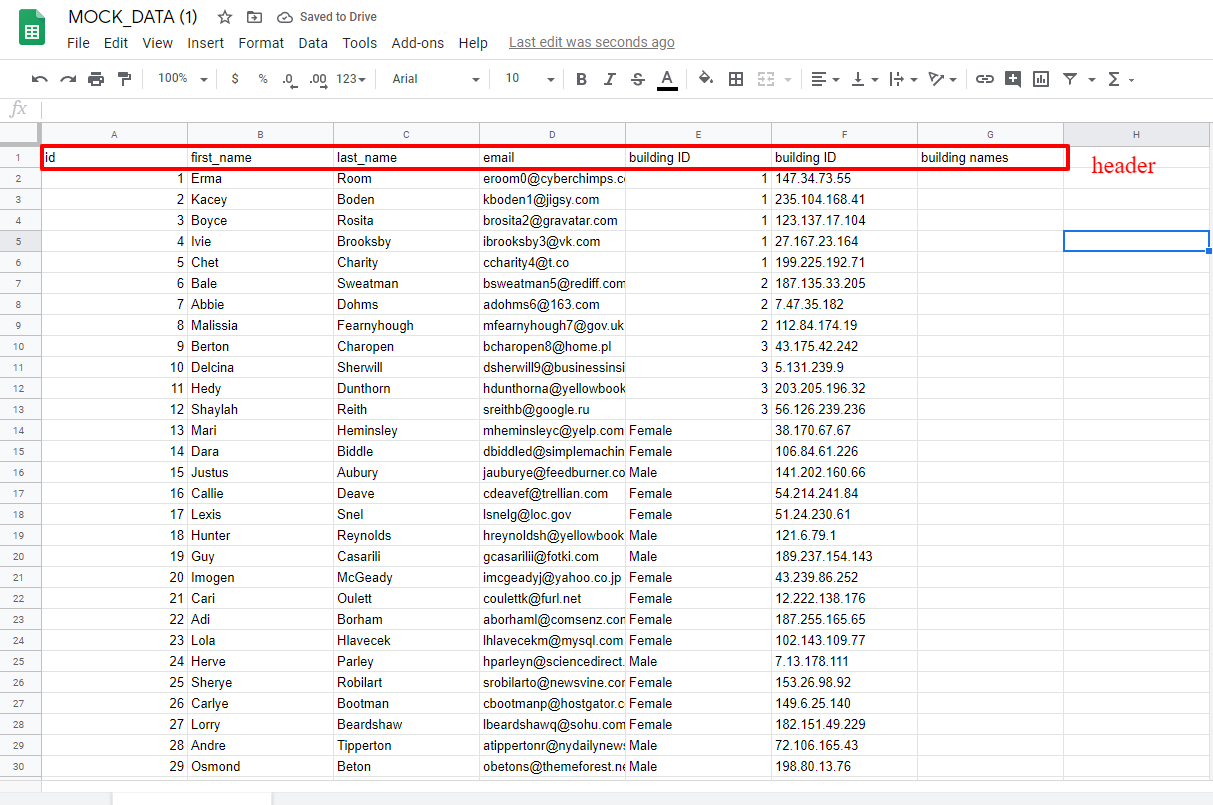
You will see a glimpse of your CSV and all of the fields that were included on your CSV (not all of your contacts will show here).
If your CSV file has a header, click on the checkbox that asks if First Row Contains Headers. If your CSV file does not contain a header, keep this box unchecked and fill in the mapping titles.
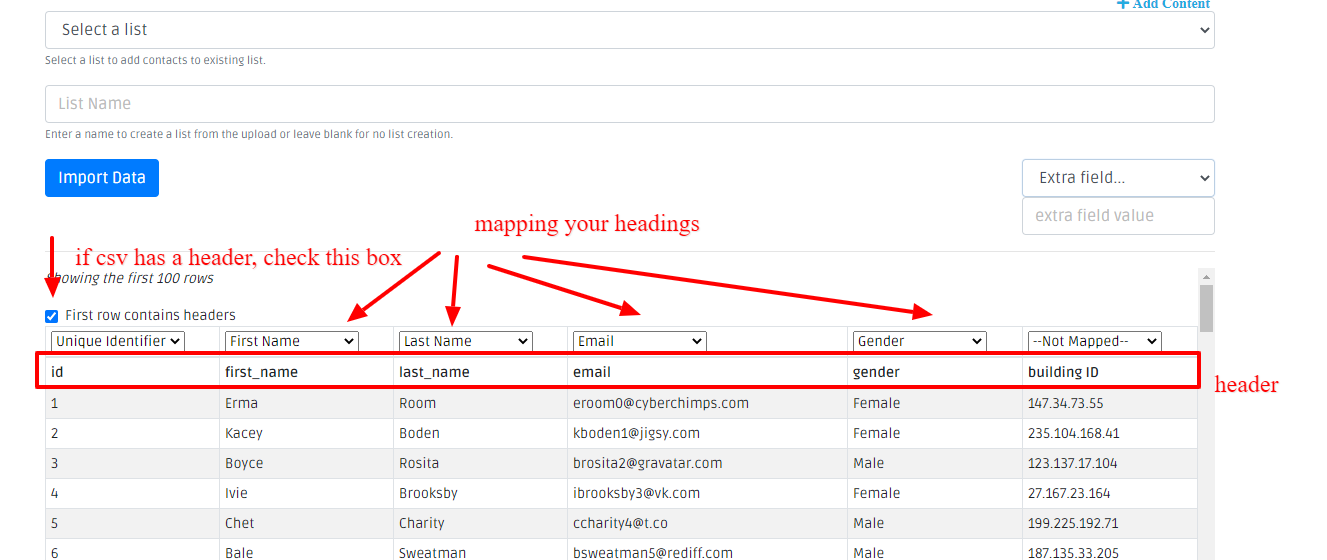
If the attributes of the headers are identified, the system will automatically assign them. If they are not identified, you have the option to manually do this. Click on --Not Mapped-- and choose the correct heading, or create a new heading by selecting --New Attribute--. These headings are important because this is how you filter your dynamic lists.
**Every person you import should have a Unique Identifier. This identifier should be unique to each person. Multiple people should never share the same identifier.** Most SIS provide this for you. If you are not importing your contacts through an SIS you can create this, just make sure each person has their own unique id.
Combining Same Contacts together
You can group your contacts based on their Unique ID. Example: You have a parent that has multiple emails & phone numbers. Instead of importing that user in multiple times, you can group them by their Unique ID.
Options
If you would like to group individuals, click Option and select the Transform Data button in the bottom left corner.

This will give you the option to choose your Unique Identifier, and select the fields that will have multiple entries.

Unique Identifier: choose the option that is your Unique ID.
Has Multiple: Choose the options of your list that contain multiple submissions. If you are not sure, select the Detect button. This will automatically go through your list and check the corresponding boxes/fields that contain multiple entries. Click Transform Data, check to make sure your data looks correct, and now Import your list.
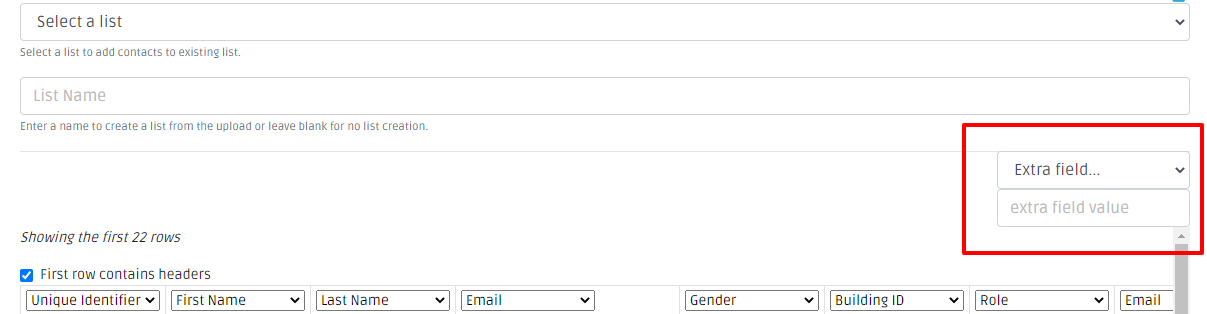
Extra Field
If you would like this specific list of imports to all have a specific field allocated to them, you can either select from an already existing field by clicking on the Extra field drop down or you can type in a new field in the space below. Fields are important when creating and filtering dynamic lists.
Comments
Please Sign in to leave a comment if you don't see the comment box below.