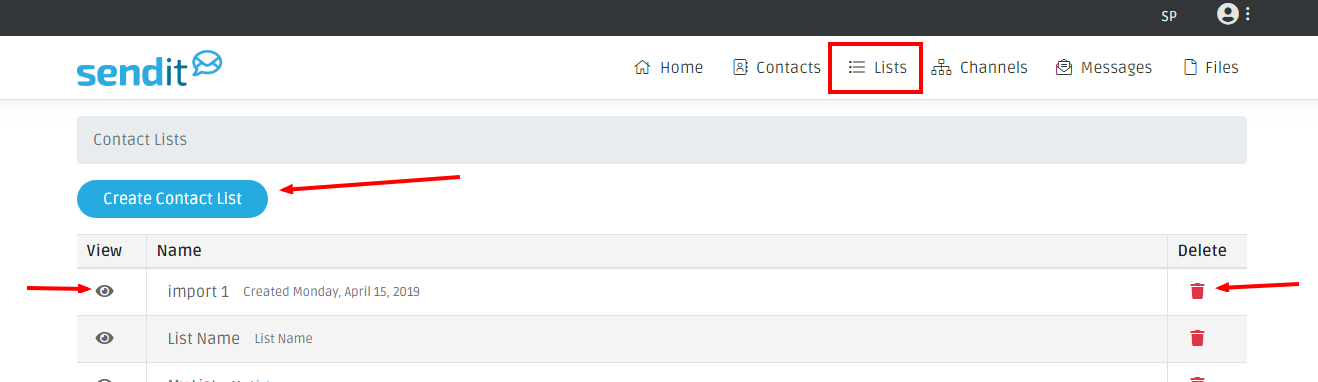
Lists are used to help organize groups of individuals you would like to send information too. To create a new list, select Lists from the main navigation menu. This landing page will show all lists that have been created and lists that you have permission too. You can create news lists from here, delete any lists, or view the contacts that belong to any current lists.
Create a New List
Click the Create Contact List button.
List Types
Static List
Consists of contacts that were manually added to this list. You can add individuals to this list with a CSV, one by one, or folks can Opt In to these lists with a link or with an Opt-In code (see instructions below). This list will not automatically update, it updates as you add people or remove people. To add contacts to this list, see the Adding Contacts: Individually and the Adding Contacts: CSV File portion of this manual.
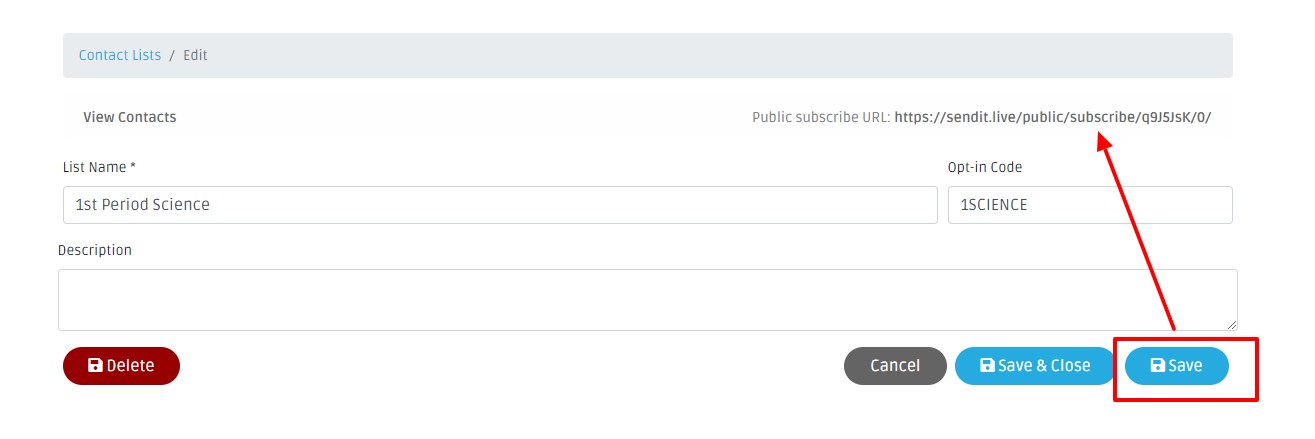
Public Subscribe with URL
You can create an Opt In link with static lists. Once you enter the list name and add the description (if desired), click save and a Public Subscribe URL is created. You can send this link out for people to subscribe to receive this information.
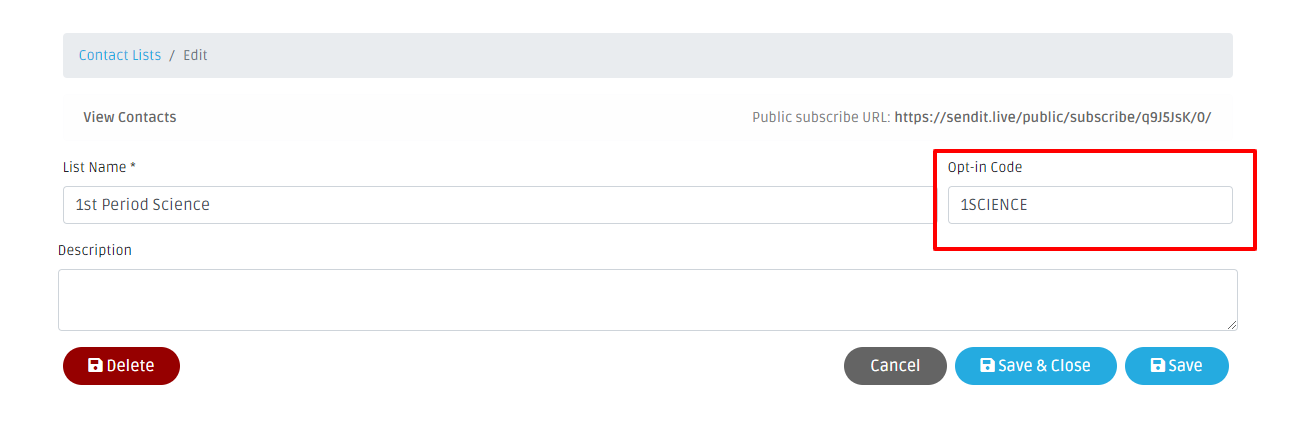
 Public Subscribe with Opt-In Code
You can provide an Opt In text code to allow people to register to receive SMS text messages for a specific list. To set this up, add your code to the Opt-In space provided and click save. To Opt-In, contacts can text the code to this number 833-452-3291. Your code must be unique and can only be used once globally.
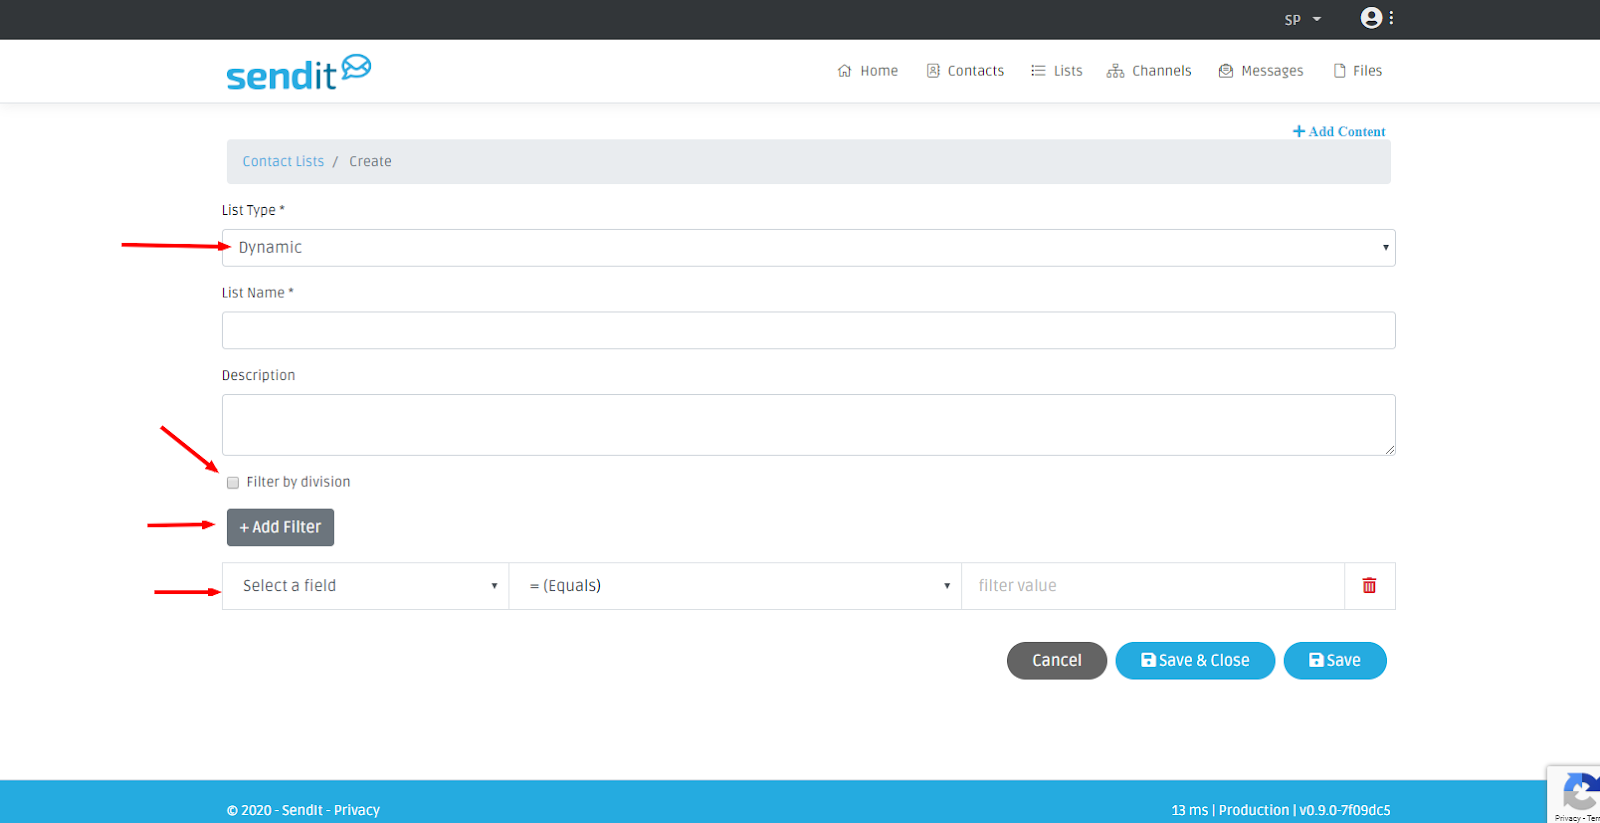
Dynamic List
This list will constantly evolve as certain criteria are met (Example: You created a list of staff members belonging to the High School - As you add new staff members into SendIt, if you mark them as belonging to the High School, they will automatically be added to this list. As you remove people from the highschool, they will be removed from this list). To add contacts to this list, set the criteria by using the filter options. Contacts that meet that criteria will automatically be added to this list.
With a dynamic list, you can filter by divisions, by a specific user’s division, and/or add custom filters. The custom filters are those created when importing contacts with a CSV file or through your SIS.
List Name:
Provide this list a name
Description:
If you want to add a description for this list, add that here.
Filter by Division:
Check the FIlter by Division box and select which divisions you would like to filter by.
Filter on User’s Divisions:
This automatically filters contacts into a list based on what division you are assigned too. Check the Filter on User’s Division box and then click Add Filter. Add how you want to filter this list. You can add more than one filter at a time.
Example: You are creating a list of parents for your staff members to email out to. You want your HS staff members to only be able to send messages to the HS parents, and you want your ES staff members to only be able to send messages to the ES parents, and so on. Instead of creating a separate list for each building/division, you would create one list. You name this list Parent Contacts and you check the Filter’s on User’s division box. You then click filters and set up the guardian filter (role=guardian) and save.
Once you save that list, you provide staff permission to this contact list. As long as your staff belongs to their specific building/division, when they log in to send a message they only have access to the parents who have that same building/division assignment as you.
+Add Filter:
To add a filter click on the +Add Filter button. Select a field from the drop down menu (these fields come from the CSV upload or from your SIS), select the criteria and then enter the value. **You can add more than one value by separating the values with a comma. Make sure to select the In List criteria from the drop down menu to do this**
Comments
Please Sign in to leave a comment if you don't see the comment box below.